Create New Workflow
Accessible via: Main Menu -> Workflows -> New Workflow
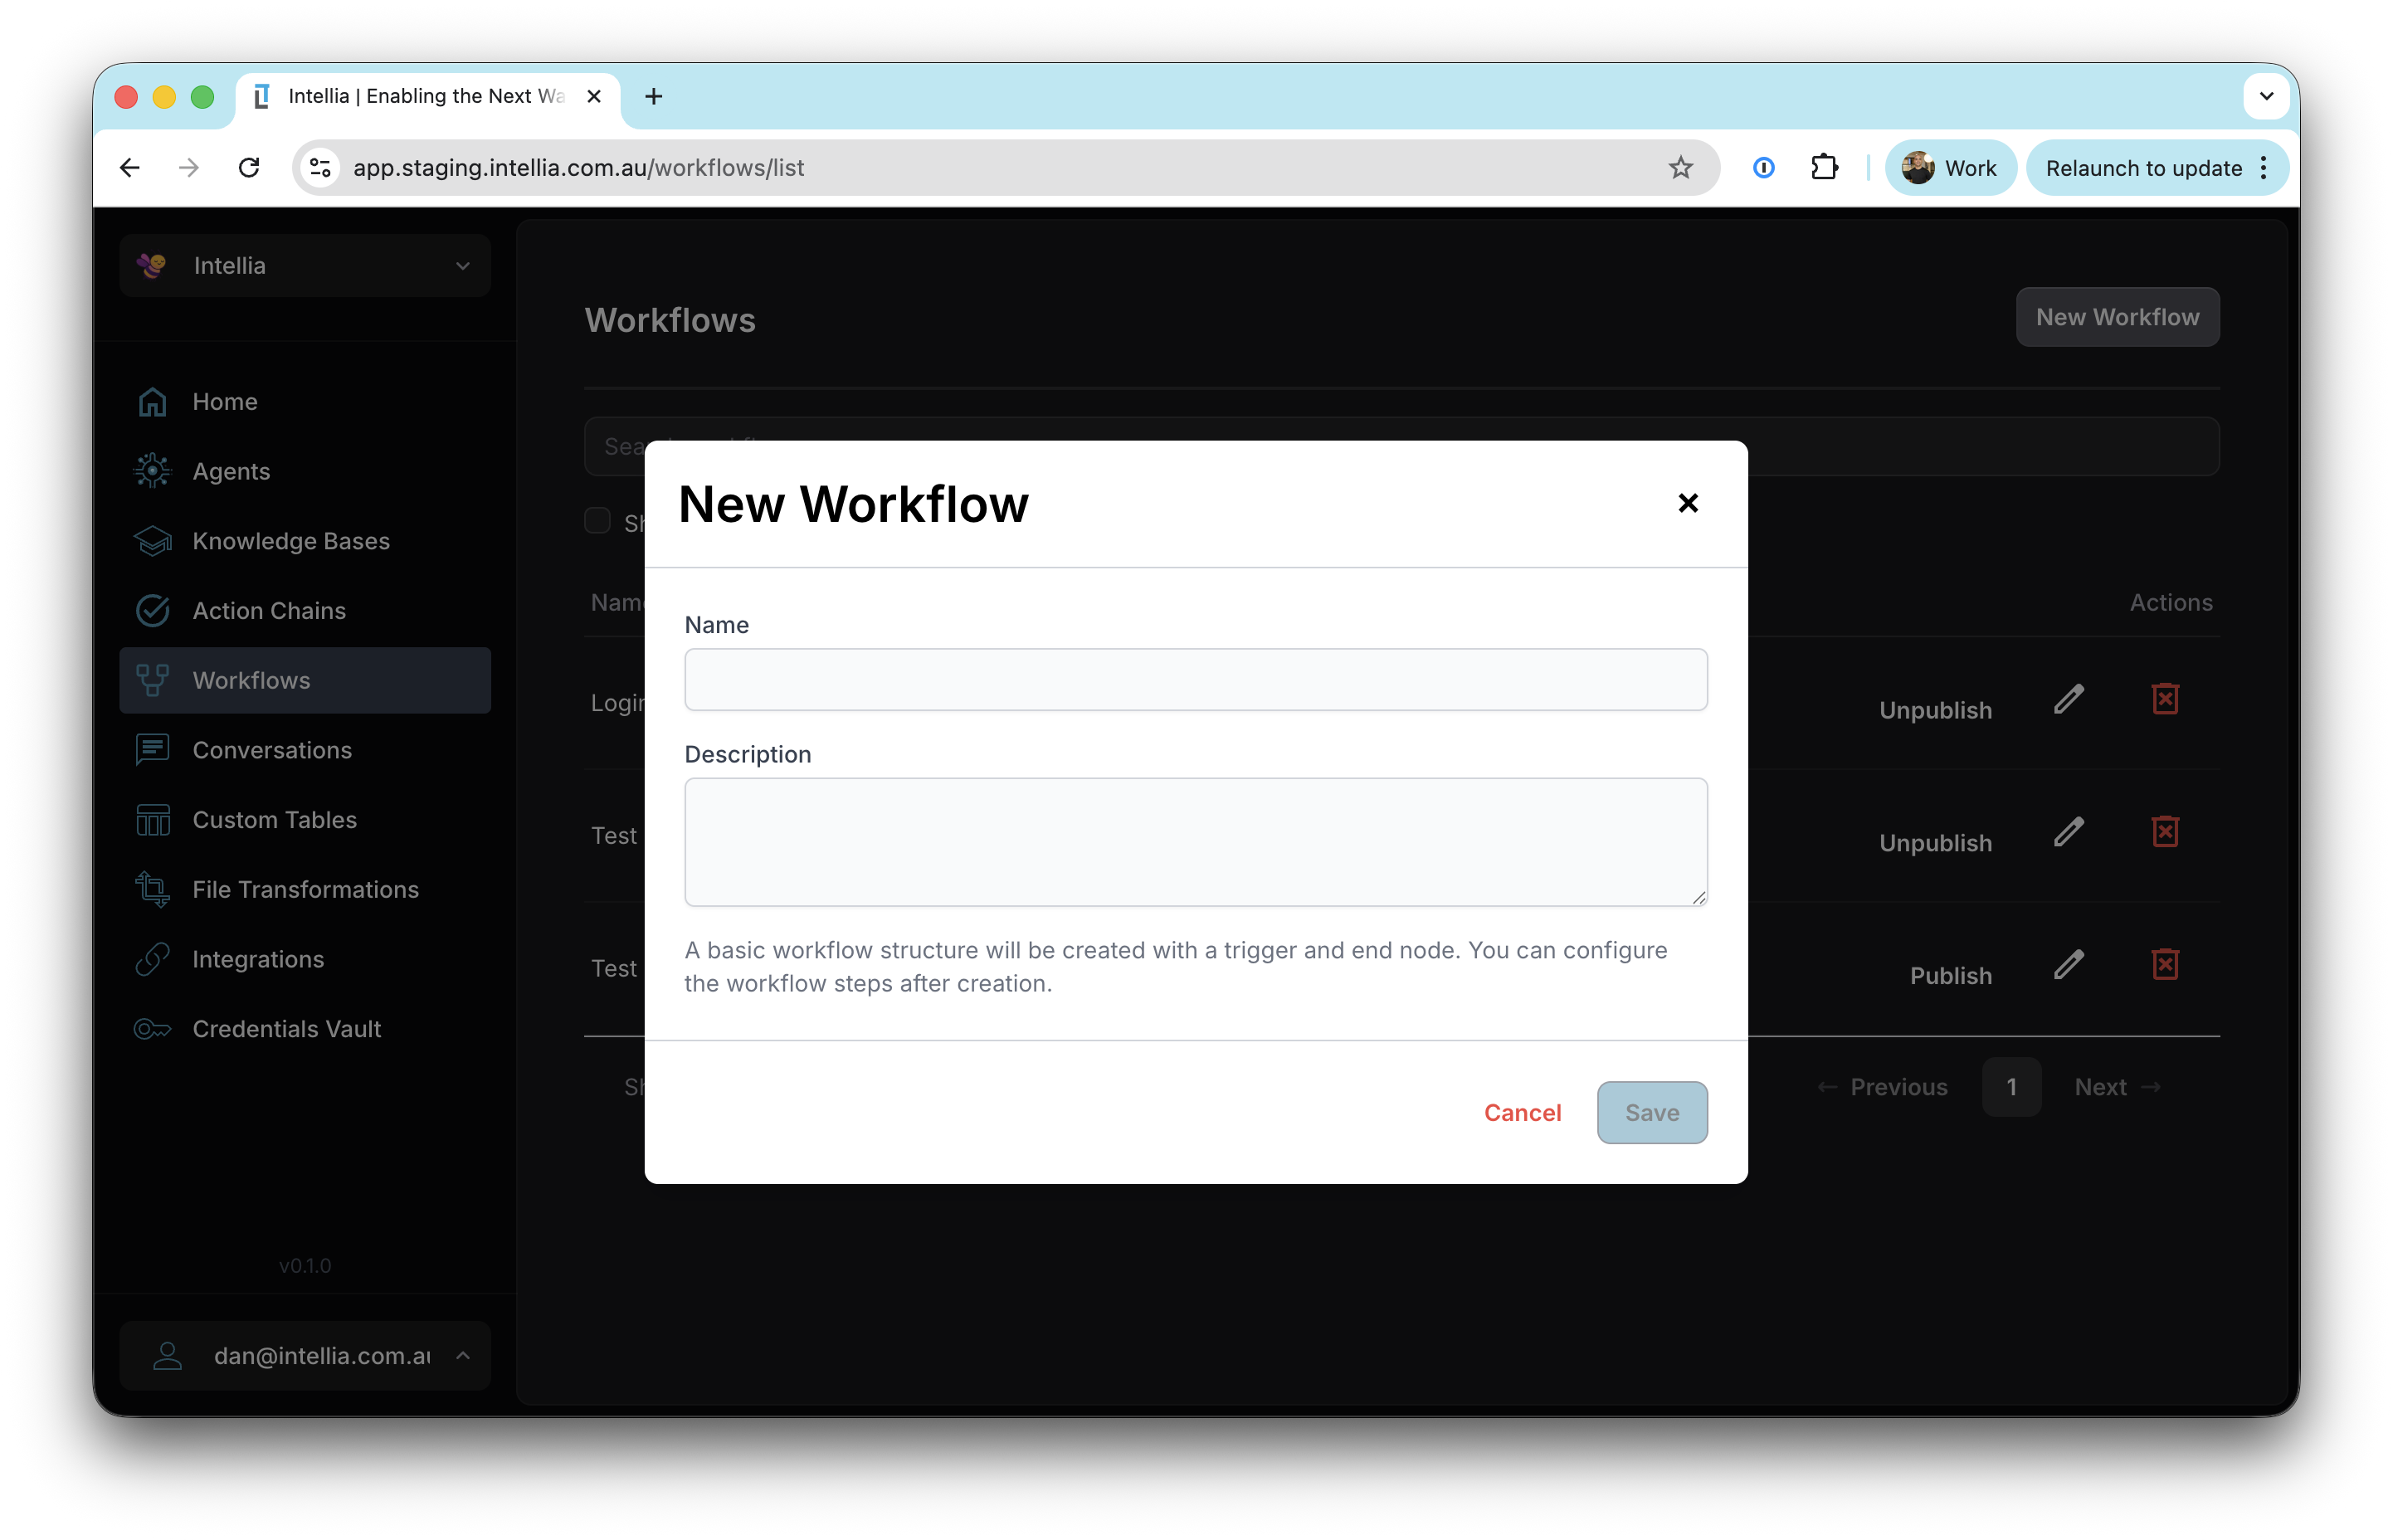
Creating Your First Workflow
The Intellia platform makes it easy to create powerful automation workflows. Follow these steps to build your first workflow:
1. Start a New Workflow
- Navigate to Main Menu -> Workflows
- Click the “New Workflow” button
- You’ll be presented with the workflow creation form
2. Configure Basic Information
Name: Enter a descriptive name for your workflow
- Choose something that clearly indicates the workflow’s purpose
- Example: “Property Data Lookup”, “Customer Onboarding”, “Invoice Processing”
Description: Provide a detailed description
- Explain what the workflow does
- Document any prerequisites or requirements
- Include notes about expected inputs and outputs
3. Configure the Trigger
Every workflow starts with a Trigger Node. This defines how the workflow receives its initial input data.
Trigger Type: JSON Schema
Select this if your workflow will be triggered with structured JSON data. This trigger type supports multiple invocation methods:
- Manual Execution: Run the workflow directly from the UI
- Webhooks: Configure incoming webhooks to trigger the workflow
- Schedules: Set up scheduled executions (e.g., daily, hourly)
- Agent Prompts: If an agent has the Workflows tool enabled with “execute workflows” permission, it can trigger workflows through natural language prompts
Setting up the JSON Schema:
- Click on the Trigger node in the editor
- Select “json” as the trigger type
- Click “Edit Schema” to define your input structure
- Add fields that your workflow needs:
- Field Name: The key name in the JSON (e.g., “address”, “customerId”)
- Field Type: string, number, boolean, object, array
- Required: Check if this field must be provided
Example JSON Schema:
{
  "type": "object",
  "properties": {
    "address": {
      "type": "string"
    },
    "includeOwners": {
      "type": "boolean"
    }
  },
  "required": ["address"]
}
Trigger Type: Knowledge Base File
Select this if your workflow will process files uploaded to a knowledge base.
When triggered, the workflow will receive:
organizationId: The organization owning the fileknowledgeBaseId: The knowledge base containing the filefileId: Unique identifier for the filefileName: Original name of the uploaded filemetadata: Additional file metadata
4. Add Nodes to Your Workflow
Once the trigger is configured, start building your workflow by adding nodes:
- Click the “+” button on the trigger node or any existing node
- Select a node category:
- Execution: Agent, Tool Call, Function, Execute Workflow
- Flow Control: Conditional, Repeat, Parallel, Continue
- Interaction: Approval, Wait for Callback
- Terminal: Set Output, End
- Configure the node in the right panel
- Repeat to add more nodes
5. Connect Nodes
Nodes are automatically connected via their onSuccess path. You can also define onFailure paths for error handling:
- Select a node
- In the right panel, find the “On Failure” field
- Choose which node should execute if this node fails
6. Test in Draft Mode
Before publishing, review your workflow:
- Check all nodes are properly configured
- Verify connections between nodes make sense
- Review data flow - ensure JSONPath references are correct
- Consider error cases - add onFailure paths where needed
7. Publish Your Workflow
When you’re ready to make your workflow available for execution:
- Click the “Publish” button in the top toolbar
- Intellia will validate your workflow
- If validation passes, the workflow is deployed
- The workflow status changes to “published”
Note: You can continue editing published workflows. Changes are saved as draft modifications and won’t affect the running workflow until you publish again.
8. Execute Your Workflow
Once published, you can run your workflow:
- Click the “Run” button
- Provide the required input data (based on your trigger schema)
- Click “Execute”
- Monitor the execution in the Executions tab
Quick Start Example
Here’s a simple workflow to get started:
- Trigger: JSON schema with a
questionstring field - Agent Node: Configure an agent to answer the question
- Input:
{ "question": "$.results.trigger.question" }
- Input:
- Set Output Node: Return the agent’s response
- Output:
{ "answer": "$.results.agentNode.response" }
- Output:
This creates a workflow that takes a question and returns an AI-generated answer!
Next Steps
- Learn about different Node Types
- Understand JSONPath expressions
- Explore Workflow Examples
- Read Best Practices